This is my recipe that I’ve been developing over the years. Its improved over time with trial and error (and the errors are still pretty damn delicious). If you’re new to smoking ribs its important to get acquainted with the different types and make sure you get the right rack for your cook. I like to use a dry rub on my ribs to get some extra baked in flavor and build a good bark on the meat. After cooking you can use and type of bbq sauce you have handy depending on your taste.
Types of Ribs
This recipe is for Baby Backs, but I want to describe the different types of ribs you might see at the grocery store or your butcher’s.
- Spare ribs – These come from the belly of the hog. They are less meaty but have a lot of fat. Typcially these are what you will get from a Chinese restaurant when you order the red ribs. They have a lot of flavor, but not much substance. If you go with spare ribs make sure to cook them low and slow to break down the fat.
- Short ribs – These come from the shoulder and are short and square in shape. They have layers of fat and meat alternating. A good choice for braising or slow-cooking. Can be difficult to smoke correctly due to different thicknesses. Beginners should stay away unless you like tougher meat.
- St Louis Style ribs – These are a variation on spare ribs, but have more meat due to the way they are cut and come in rectangular racks. A very popular style of ribs at most grocery stores.
- Baby Back ribs- This is what we want! These come from the back of the hog and are very meaty and leaner than spare ribs. They are also slightly smaller, with a rack weighing in between 1-2lbs. One rack is good for two people (although I can usually polish off one on my own if needed).
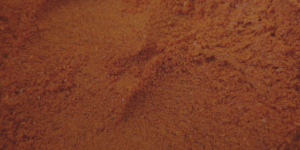 Dry Rub
There are two types of rubs you can use on ribs. Dry rubs and wet rubs. A dry rub is basically a mix of herbs and spices and salt that is applied liberally before the meat goes in the smoker and cooks into the surface. A wet rub is similar but it has a liquid component which means it needs to be brushed on to the meat. With wet rubs the moisture will evaporate as you cook, so this is mainly a personal preference for most pit masters. I’ve got a separate post with my dry rub recipe you can check out.
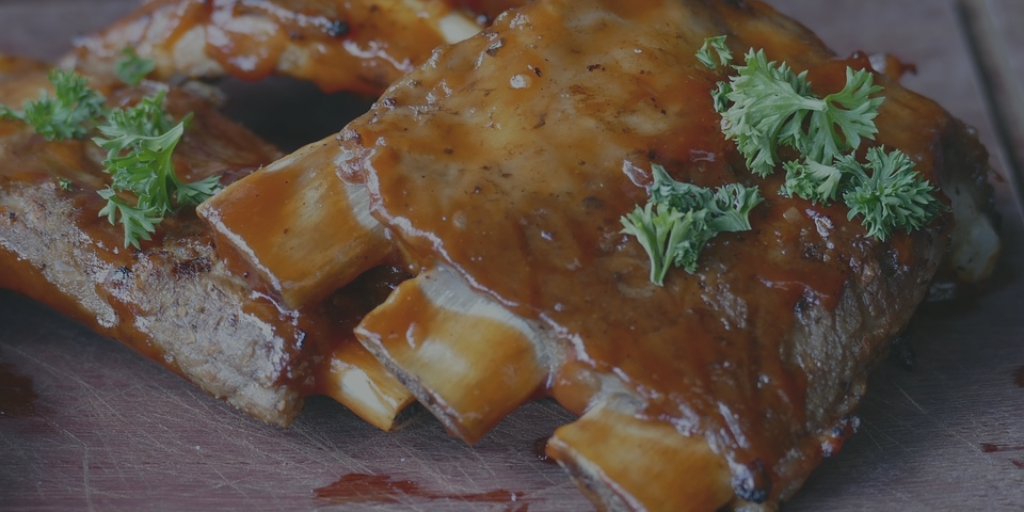
Bark
I don’t want to get too deep into the science of cooking meat and the Maillard reaction, but basically the bark is the crisp outer coating on the ribs. It as driven by chemical processes that occur as the meat cooks. Salt from the rub is pulled into the meat and at the surface water and fat soluble rub ingredients interact with the meat juices and smoke causing an almost candy-like outer layer to form. As you apply smoke molecules of the burned wood attach themselves adding to the flavor party. The secret to a good bark is in the choice of meat, a good rub liberally applied, a consistent temperature, and using the right wood smoke at the right time.
Lets get started cooking all this talk about ribs is making me hungry!
Ingredients
- 1/2 rack of baby-back ribs per adult you plan to feed (don’t be affraid to get extras, mmm left-overs)
- 4 tbs of rib-rub per rack
- 1 tsp of kosher salt per rack
- your choice of bbq sauce
Pretty simple ingredient list, right?
You will also need:
- tongs
- a sauce brush (mop)
- fruit wood chips (I like to use apple wood)
- your smoker
Here’s how to cook these ribs!
- Rinse the ribs and remove the membrane from the back. If you plan ahead and read this before you went to the butcher you can ask him to do this. It can be difficult to remove and if you can’t get it try scoring it with a sharp knife and then pulling it off in pieces. This allows more surface area for the rub to sink in and makes for more tender fall-off-the-bone meat.
- Salt that meat! rub the salt onto the ribs, top and bottom. Get it in there 1/2 tbp per side. If you have time let the ribs rest in the fridge for 30-60 mins after getting the salt on them. This allows the meat to draw in the sodium and makes for a thicker bark and better smoke ring.
- Time to add the rub. Wet the rack slightly both sides. I use a mist spray bottle with water for this. You just want enough to make the rub stick, don’t soak the ribs. Next rub on the rack with about 2 tbp per side. Get the spices in there.
- Set up your smoker. You want it running at 225 degrees. Let the ribs hang out at room temperature while you get up to temp.
- Add the ribs and about 4 oz of fruit wood to the smoker.
- It will take about 30-40 mins for the smoke to run out on the wood you added. Wait another half hour and add another round of 4 oz of fruit wood. This is the last time you should add smoke to the cooker.
- Wait patiently. You will need 3-4 hours to get these ribs to perfect fall-off-the-bone prefection. Don’t peek until atleast 3 hours have past.
- Check for doneness. Because ribs have so little internal area that isn’t bone it is impossible to accurately use a digital thermometer. To make sure the ribs are cooked you will need to use the bend test. Basically pick a rack up (gently) and bend it a little. If the surface cracks open your ribs are cooked through. depending on how the crack happens you might even want to give them a little longer .
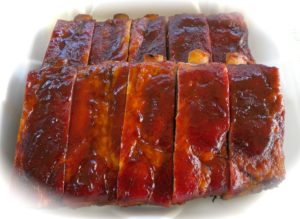
- Sauce the ribs. Take your brush and cover the ribs on both sides then put them back in the smoker and turn the heat as high as it will go and let the caramelize for 10-15 minutes. If you like the outside even crispier you can put them in a propane grill on high for a few minutes, although its not necessary. If you do put them in the grill keep a close eye, they can go from perfect to burned very quickly.
- Chow down. Serve with some extra sauce on the side if you like. Marvel at the smoke rib and perfect bark you have created. Drink a beer and decide what you are going to smoke tomorrow!